
I am giving you all my love shades in one composition, A bold contrast of black and white. Continue reading
I am giving you all my love shades in one composition, A bold contrast of black and white. Continue reading

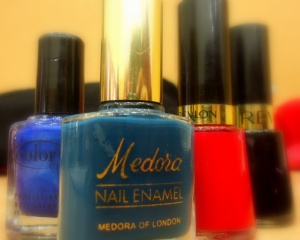
Getting started with Medora of london deep blue color as a base coat. Making half of the tip with loud blue of color club. Now your base is ready for further treatment.

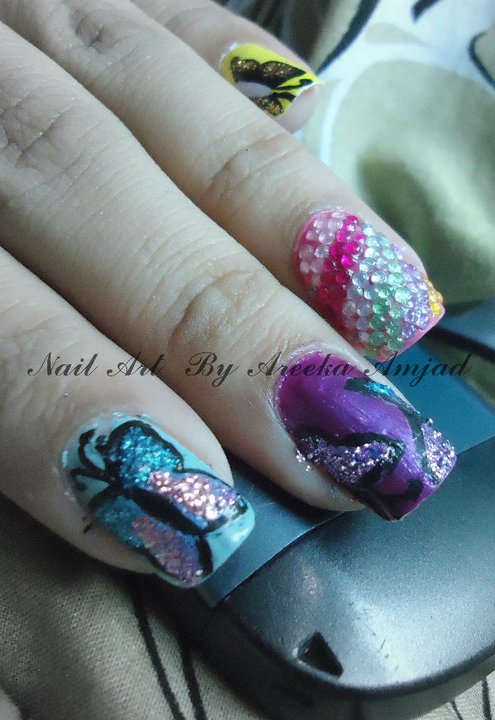
A butterfly represents love relationships and freedom. It is an essence of love. It best suits a young elegant girl wearing it on her nails. To enhance its elegance I have added rhinestone to the ring finger.


>


I have been wondering about the people’s obsession for this essence eyeliner. It was the third time I went to buy a black gel eye liner but that was out of stock!! at three different places. So the lady their forced me to try this metallic grey shade. Although i am not very fond of colored eye liners but I actually wanted to see the reason behind the hype of this gel eye liner. Not to mention but yes the “price” was also tempting enough to buy one.
Weeks after I bought it I finally decided to give it a try. My previous experience with essence was quiet pleasing. I don’t know if you have tried or not but I am completely obsessed with essence Nail Colors collection. I love it’s texture, application and beautiful wide range of colors.
Just by looking at it, it reminds me of my acrylic paints. the sliver grey shinny color and the odour is so similar to acrylics. The packaging is as usual gel eyeliners, a glass pot with a plastic cover. I wore a thick winged eyeliner to a day out and surprisingly it was nothing as I expected. Continue reading
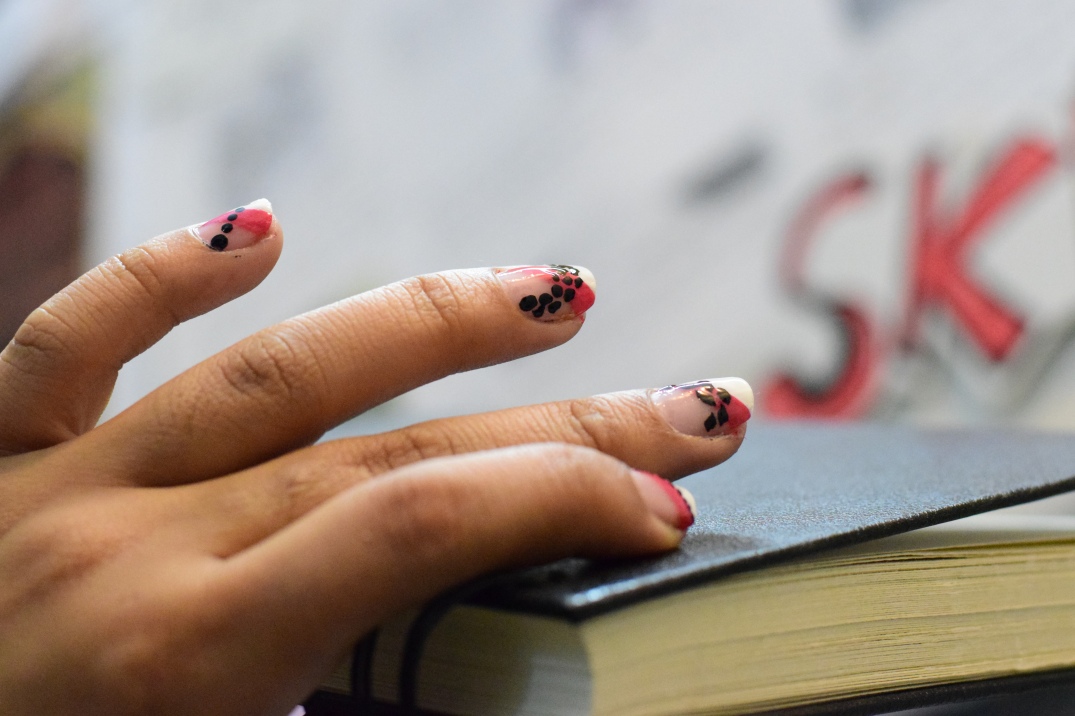
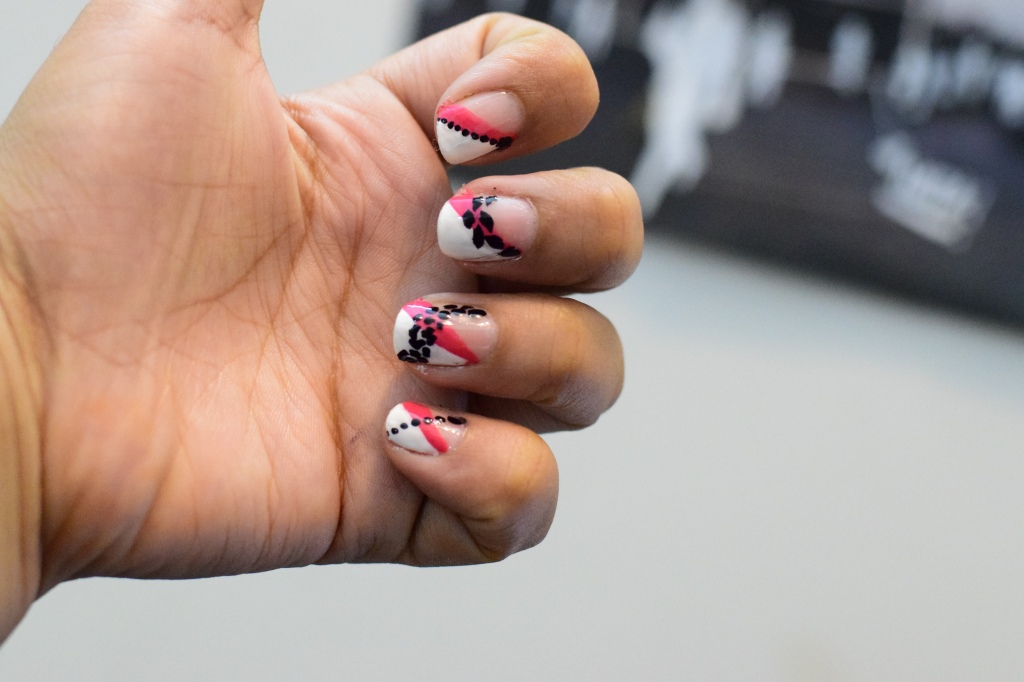
Well french nails is almost everyone’s kind of a thing. I usually wear french nails but this time I am bringing you my french tips with a twist.
Yes!! You can see that this diagonal french tip with a pink boarder is usually my first move while doing french nails.. Don’t know why :{
But using a black nail paint and going in with some leaves, leopard print and dots is what is making the real twist in the game. I wouldn’t say a lot about these nails because the idea and the design is simple and says all for it self.
Scroll down to meet my First ever nail tutorial
.
.
.P.s This video was made without a tripod so sorry for this irritating angle.


You might find this tutorial helpful 🙂
Do subscribe and comment below..:)

Hy you all lovely people out there.. It’s been a good week. I have been packing up my stuff to move further for travelling and the idea popped out to my mind that I should write a post on my travelling essentials. Makeup and accessories…I like to carry with me all the time. I don’t wear makeup all the time but it’s for sure one of those things you’ll find in my go to bag.
So here i am disclosing what I usually have in my travel bag. Continue reading
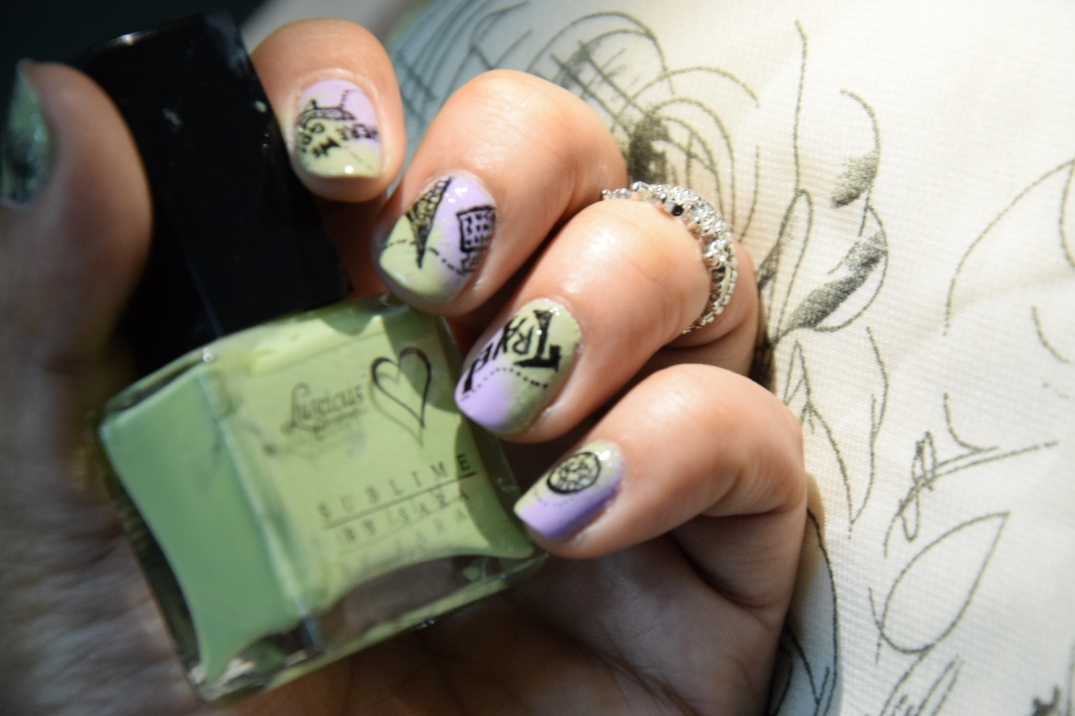
Lately I’ve been talking a lot about nail art using pens. This is surely something I do when I am out of home. I am on a trip nowadays, and I usually don’t carry alot of nail colors while travelling so I took two of my all time favorite nail polishes with me.one of them is this sublime by Sarah of “Luscious” and the other one is color and shine by “Milkajay” Continue reading

Hy there, as you all are familiar with growing trends of nail art. Today every girl wishes to have her own nails done at home spending no money and looking great at the same time. But how can you get a professional nail art by yourself. Painting with polishes is actually not that easy.
But don’t you worry I am here to make your nail art easy and professional at the same time
Doodelling with your pencils is pretty much everyone’s thing.. so why not do the same to your nails??
Here is an easy way to create your own fabulous art just by using a nail paint as a Base coat, a drawing pen and a clear top coat.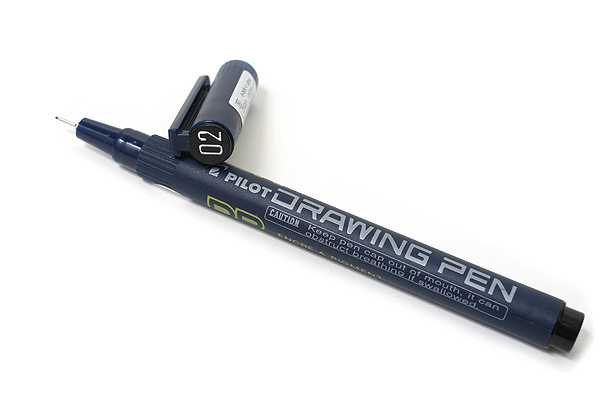

My attempt to this nail art is down below.
My inspiration for this nail design was graffiti. I tried to incorporate floral patterns and architecture in one composition. Hope you like my attempt.


